Most Antelope Canyon photography guides online are from 2017–2019 and still recommend a tripod and slow shutter — and they are wrong, because tripods have been banned across all three sections since 2019. The handheld-only reality changes everything: settings, gear choices, what tours to book, and which section gives you the photo you came for. Across five tours total — Upper (Roger Ekis in July 2025; Adventurous on a 2023 visit), Lower (Ken's in July 2025) and Canyon X (Taadidiin in July 2025) — shooting handheld with both an iPhone and a full-frame mirrorless, this is the photographer's guide with no outdated advice.
Tripod / monopod / selfie stick
Banned since 2019
Light beams
Upper only · 11 am – 1 pm · Mar–Oct
Best operator for photo
Adventurous A.C. Tours (Upper)
Best for chamber compositions
Canyon X (no beams, no crowds)
Phone setup
HDR + ultrawide + ProRAW
Camera setup
f/2.8–4 · ISO 1600+ · handheld
Quick answer: can you photograph Antelope Canyon?
Yes, you can photograph Antelope Canyon — handheld only, no tripods or monopods, no flash, and the iconic vertical light beams only appear in Upper Antelope during the midday window from late March through mid-October. The 2019 ban on camera support equipment changed the technical setup fundamentally: phones with HDR and computational night modes now produce better results than DSLRs with average optics, and dedicated photography tours (with extended dwell time and tripod use) no longer exist site-wide. The best operator for photographers today is Adventurous Antelope Canyon Tours (Upper, smallest groups of 8–10), and the underrated section for serious composition work is Canyon X with Taadidiin Tours.
The 2019 ban that changed everything
In 2019 the Navajo Nation Parks and Recreation Department, together with the major Antelope Canyon operators, implemented a site-wide ban ontripods, monopods, selfie sticks and any camera support equipmentacross all three public sections. Before the ban, several operators ran dedicated “photography tours” with smaller groups, extended dwell time and explicit tripod permission. After the ban, those tours were discontinued.
Two reasons cited by operators and the Navajo Nation:
- Visitor safety and tour pace. Photo tour groups had created bottlenecks at the most popular composition spots (the chambers where light beams land, the ridge transitions). With ordinary visitors backed up behind tripod setups for minutes at a time, total tour duration had stretched and overcrowding had become unsafe in narrow sections.
- Sandstone preservation. Tripod legs on the canyon floor and pressed against walls produced measurable wear in the soft Navajo Sandstone. The ban removes that mechanical wear.
What “photography tours” means today. Some operators still advertise photography-named tours. These are standard sightseeing tours with photography in the marketing name — same rules, same pace, same mixed-skill group. As of May 2026, no operator is running tripod-permitted tours or extended dwell-time photographer slots; any listing claiming otherwise is either outdated or marketing-speak for a standard tour. Policies can change per operator and per season, so if you see a 2026-current photo-permit tour advertised, call the operator directly and confirm the specific rules before booking.
What this means practically. You shoot handheld, in a group of 8–13 people, with 30–45 minutes inside the canyon. The photography workflow has to fit that constraint — no time for bracketed exposures, no time to wait for a beam to peak, no time to swap lenses. Get the shot in the moment or do not get it.
Phone settings that actually work post-ban
Modern phones (iPhone 12 Pro and later, Pixel 6 and later, Samsung Galaxy S22 and later) handle Antelope Canyon better than entry-level DSLRs. Computational HDR, multi-frame stacking and night mode compensate for the extreme dynamic range and the handheld constraint. The right settings:
- HDR: ON. Essential. The dynamic range inside the canyon is roughly 12–14 stops between the dark canyon floor and the bright opening above. Without HDR you either blow the highlights or crush the shadows — there is no middle ground without computational processing.
- Ultrawide lens (0.5× on iPhone, 0.6× on Pixel, similar on Samsung). The canyon chambers are wider than your normal lens can capture. Switching to ultrawide for chamber-scale compositions is the single biggest difference between a tourist snap and a usable shot.
- ProRAW / RAW. iPhone ProRAW (12 Pro and up) and Pixel RAW give you the editing flexibility to recover shadows and adjust white balance in Lightroom Mobile or equivalent. The JPEG out of the phone is fine for sharing, but RAW is essential if you want to print or grade the shot later.
- Night mode: leave it on auto. Modern phones will switch to night mode automatically inside the canyon (the interior is dim enough to trigger it). The 1–3 second computational exposure compensates for handheld movement using gyro stabilisation plus multi-frame alignment. Results are sharp and clean — better than what most DSLRs produce handheld at the same EVs.
- Flash: OFF, always. The orange-warm sandstone tones that make the canyon iconic come from indirect filtered light. Direct flash kills the warmth, flattens depth, and produces a harsh shadow against the opposite wall. There is no scenario in which flash improves an Antelope Canyon shot.
- Burst mode for beam shots. If you are at Upper during the beam window, shoot bursts of 5–10 frames at the moment the beam intensifies (your guide will signal when). The brightest frame is usually frame 3–7; the first and last frames are often slightly darker.
What to avoid on phone:the “portrait mode” bokeh (the AI-blurred background hides the actual canyon detail you came for), the colour filters and effects (kills the natural orange tone), and digital zoom beyond 2× (you are losing resolution to no benefit — move closer or use the next chamber instead).
DSLR / mirrorless settings post-ban
Shooting a dedicated camera handheld inside Antelope Canyon requires a specific setup. The constraints: handheld only, low light, dynamic range extreme, group moving every 30–60 seconds, no flash, no time to fiddle with menus.
- Mode: Aperture Priority (Av/A) or Manual with auto-ISO. You want control of aperture (composition depth) and to let ISO float based on shutter speed minimums.
- Aperture: f/2.8 to f/4. Wide open or one stop down. The canyon is dim, you need every photon. Depth of field is rarely an issue because the canyon walls fill the entire compositional plane.
- Shutter speed: minimum 1/30s, preferably 1/60s or faster. 1/30s is the absolute floor for a wide-angle handheld shot with image stabilisation. Below that you get motion blur from your own breathing. For 1/60s+ you have to accept higher ISO.
- ISO: 1600 minimum, 3200–6400 typical. Modern full-frame sensors (Sony A7 IV, Canon R5/R6, Nikon Z6 II) handle 6400 cleanly. APS-C and Micro Four Thirds cap at 3200 for usable quality. Below 1600 you cannot maintain 1/60s at f/2.8 inside the canyon.
- White balance: 5500K–6500K daylight (manual, NOT auto). Auto white balance reads the orange sandstone as a colour cast and tries to correct it, producing a grey-cyan image that does not look like what you actually saw. Lock WB to 5500–6500K depending on time of day (warmer at midday, slightly cooler at edges). This is the single biggest mistake DSLR shooters make at Antelope Canyon.
- Lens: one wide zoom, no changes inside. 16–35mm f/2.8 or f/4 for full-frame, 10–22mm equivalent for APS-C, 8–16mm for Micro Four Thirds. Bring one lens. Changing lenses inside the canyon is the fastest way to ruin your sensor with airborne sand.
- Stabilisation: ON, in-body or in-lens. Modern IBIS gives you 4–6 stops of stability — the difference between 1/30s being acceptable and being a blur. Bracing against the canyon wall adds another stop or two — only do this where your guide explicitly permits contact (some sections are kept hands-off for preservation, and oil transfer from skin onto sandstone is a real concern your guide will flag).
- Single-frame autofocus, centre point. The canyon walls are textured uniformly — modern AF systems struggle with face/eye detection where there is no face. Use centre-point AF, recompose, shoot.
- RAW only. The dynamic range will require shadow recovery and highlight rolling in post. JPEG out of camera is unusable without compromise.
Light beam window — when and how
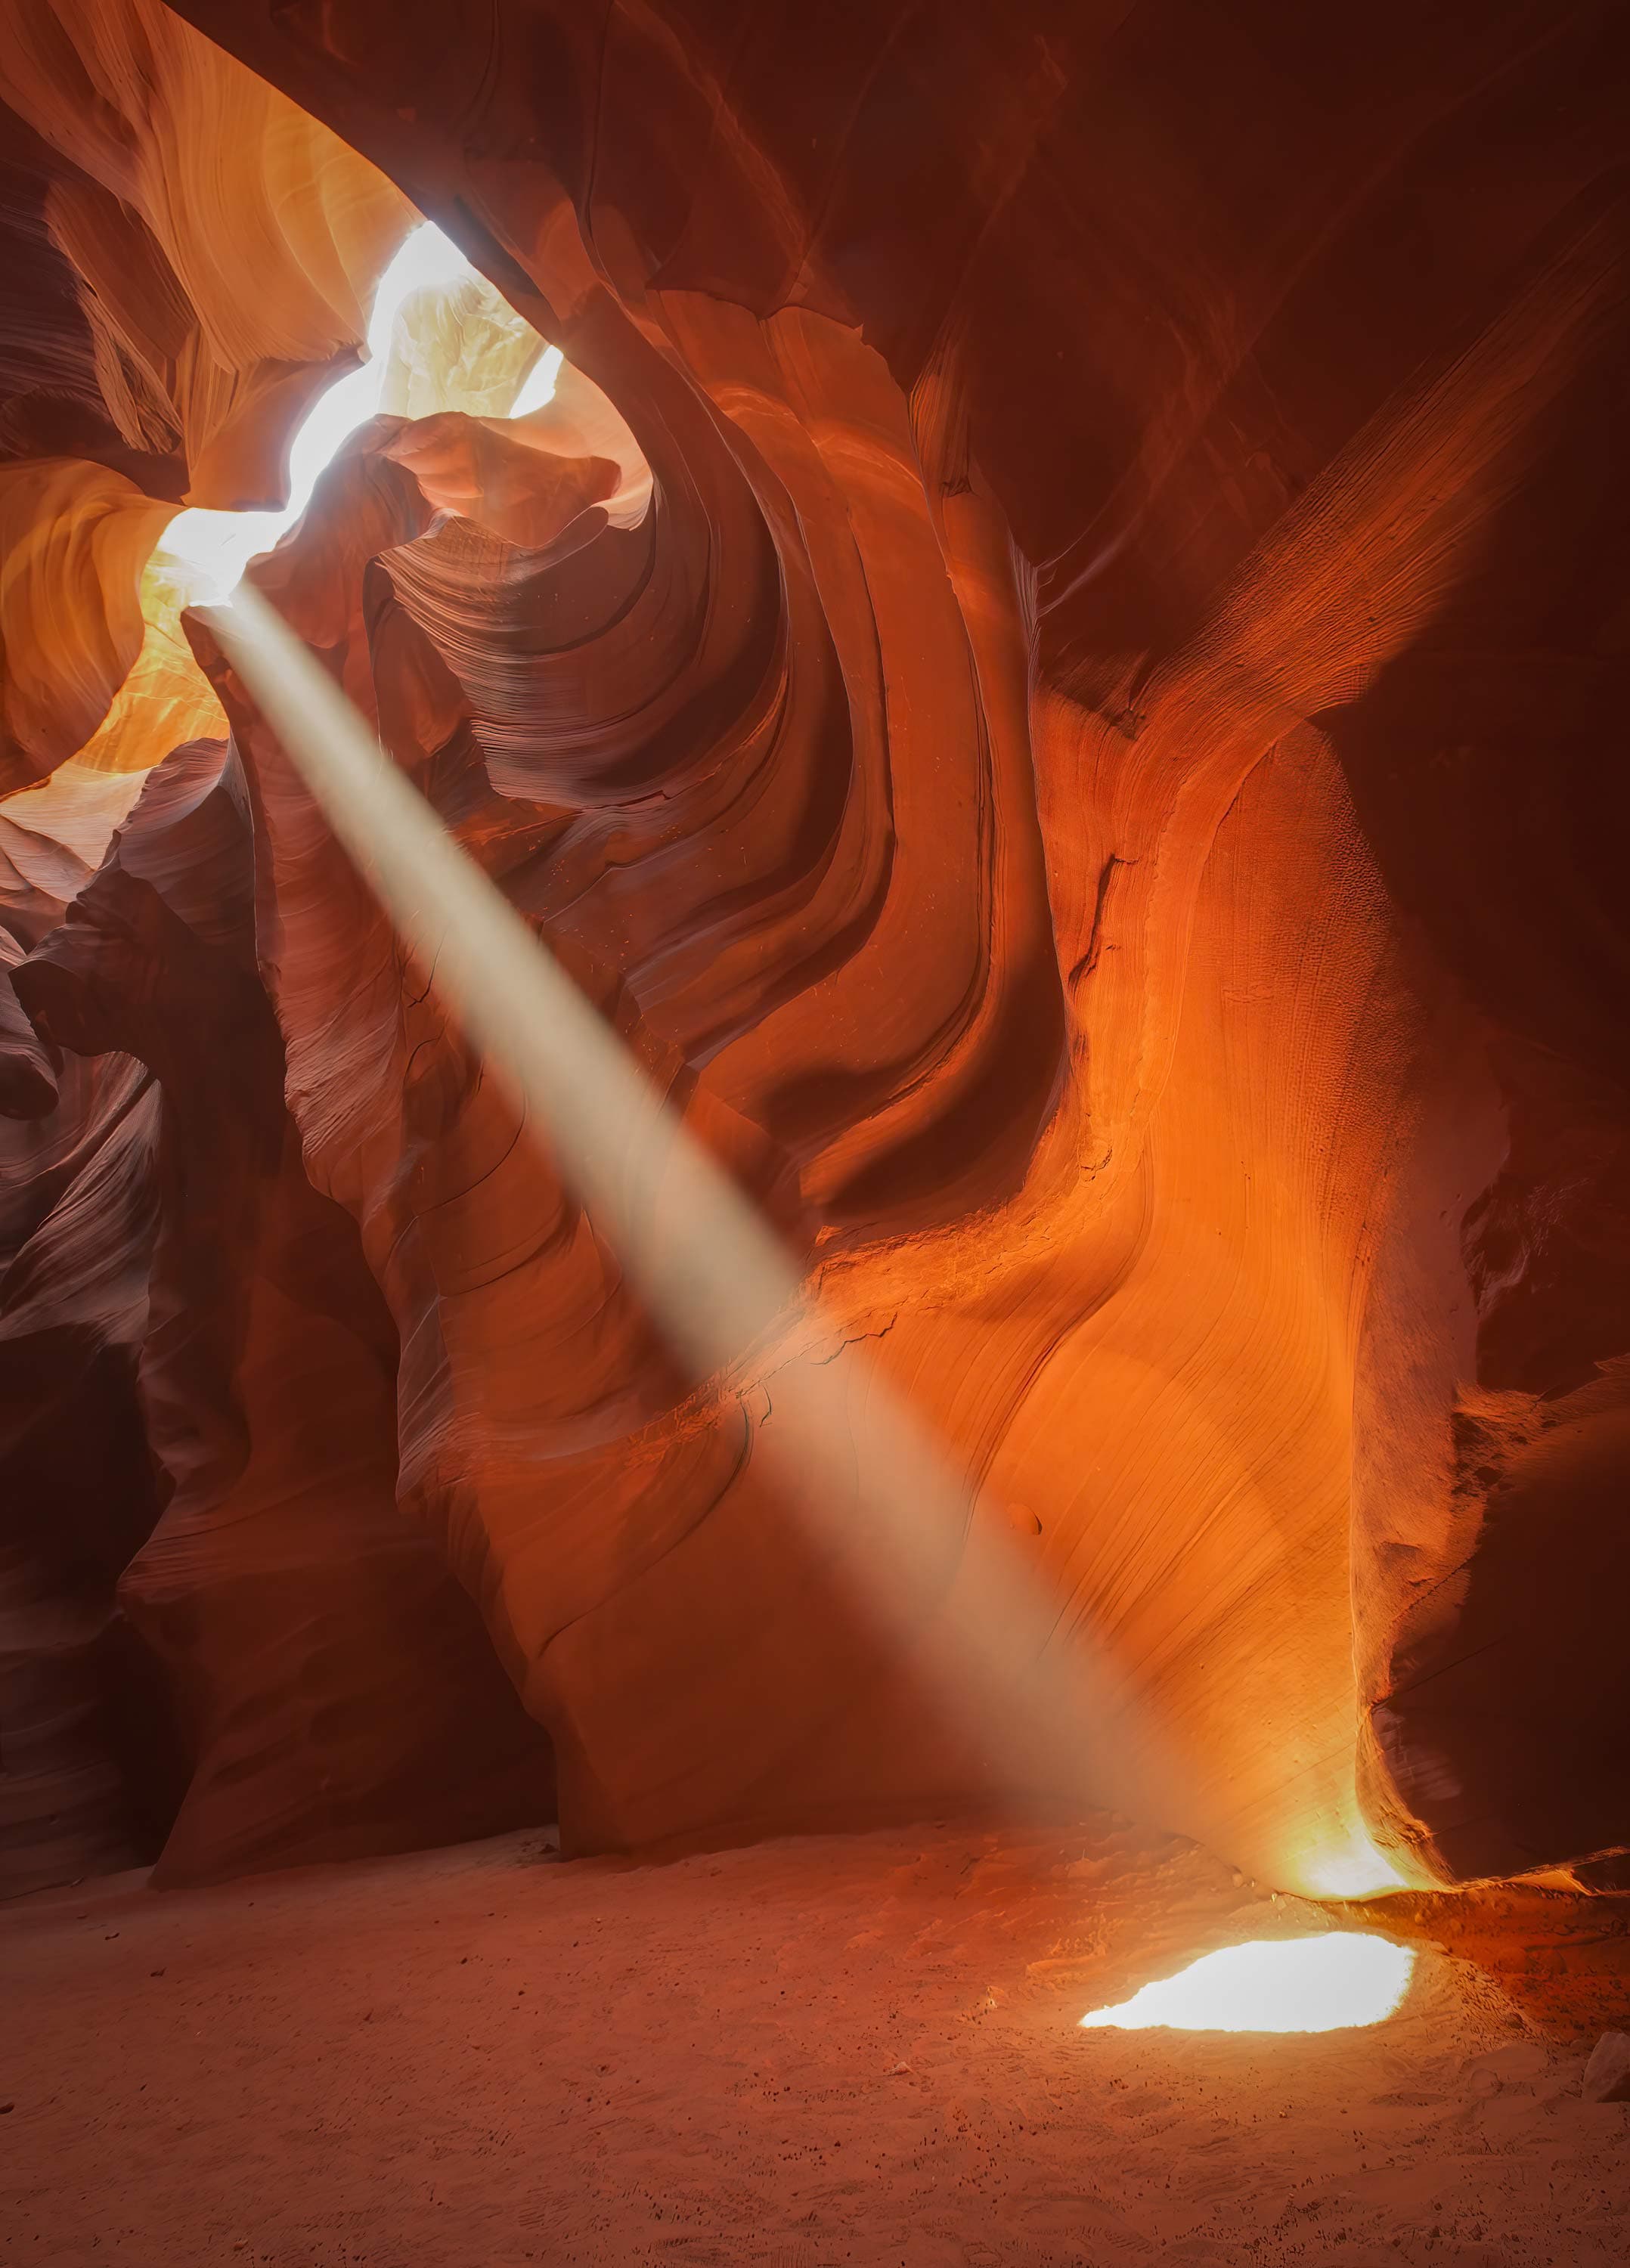
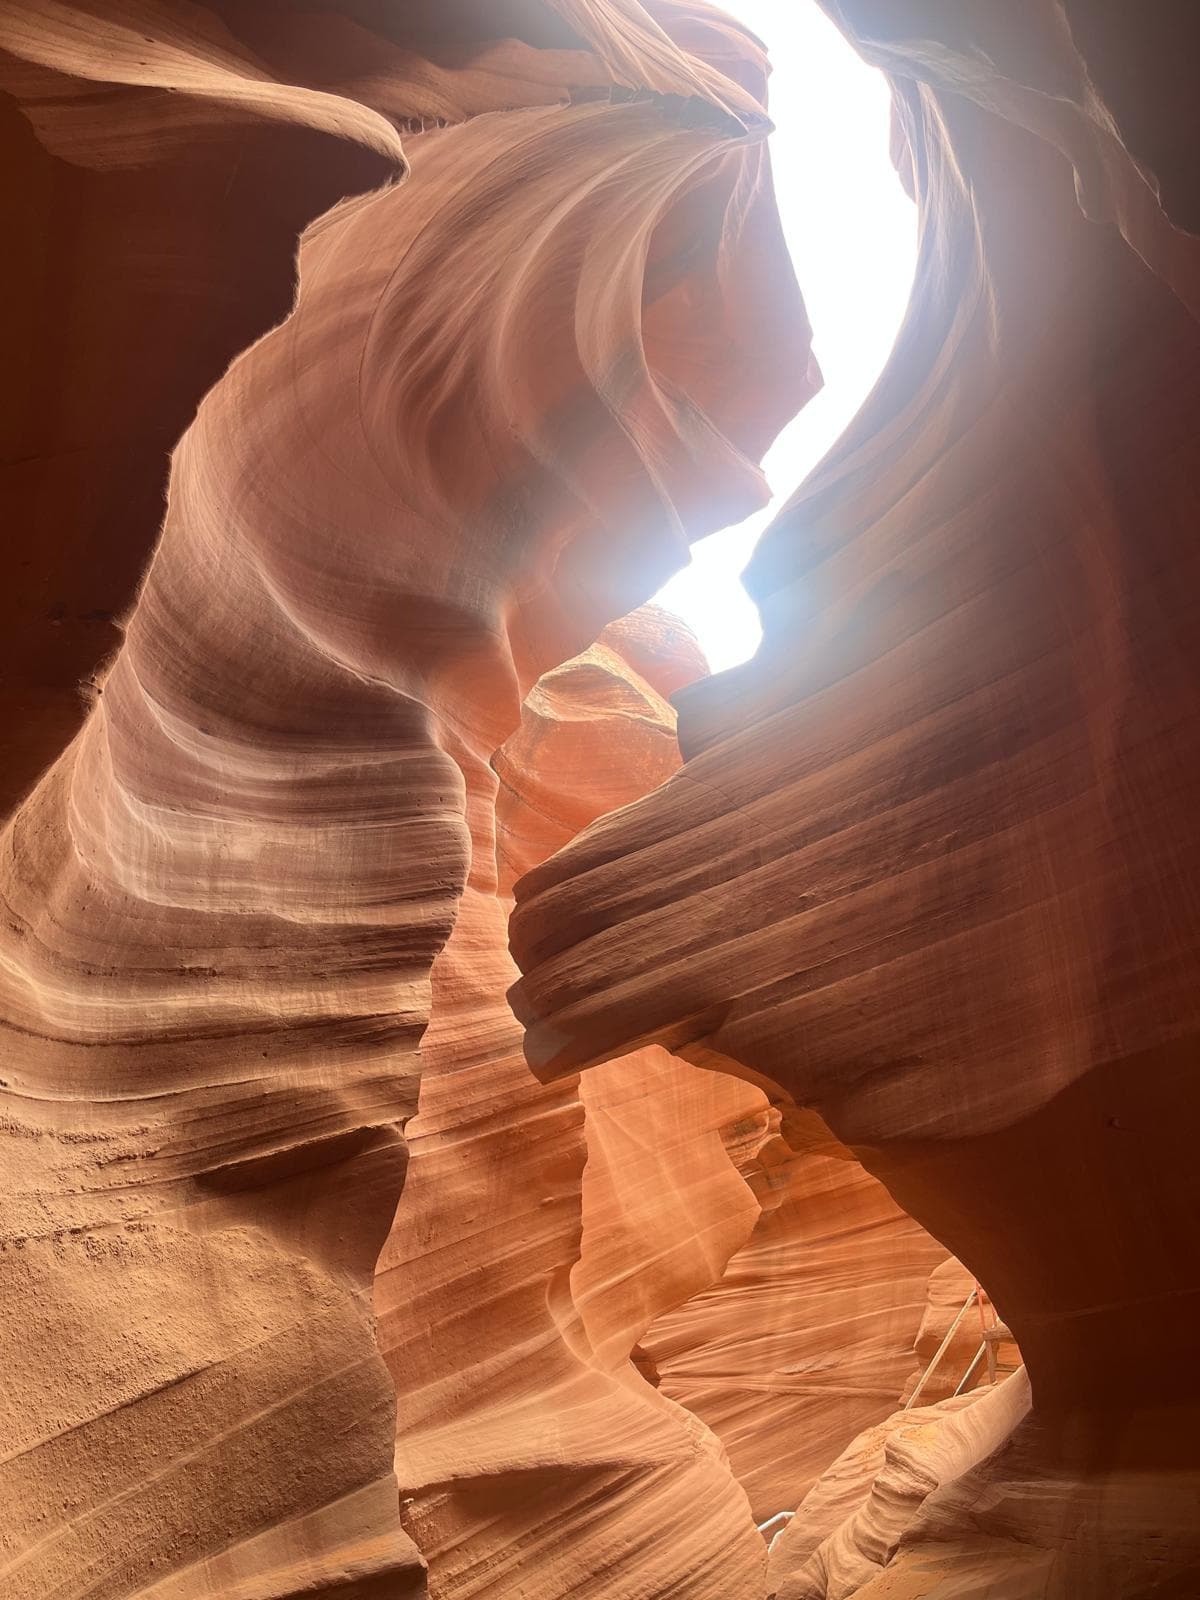
The iconic vertical light beam shot of Antelope Canyon — the one that dominates Instagram, postcards and tour marketing — only happens in Upper Antelope, only during the midday window, and only from late March through mid-October. Outside those constraints, no beam.
The geometry that produces the beams:
- The sun has to be high enough in the sky to shine directly through the narrow vertical openings in the upper canyon walls. At Page's latitude (36.9°N) the sun only clears the canyon rim angle near solar noon, and only when seasonal declination is high enough — which is why the practical window is late March through mid-October with the strongest beams in May through July. Outside that window the sun is too low to shine straight down regardless of time of day.
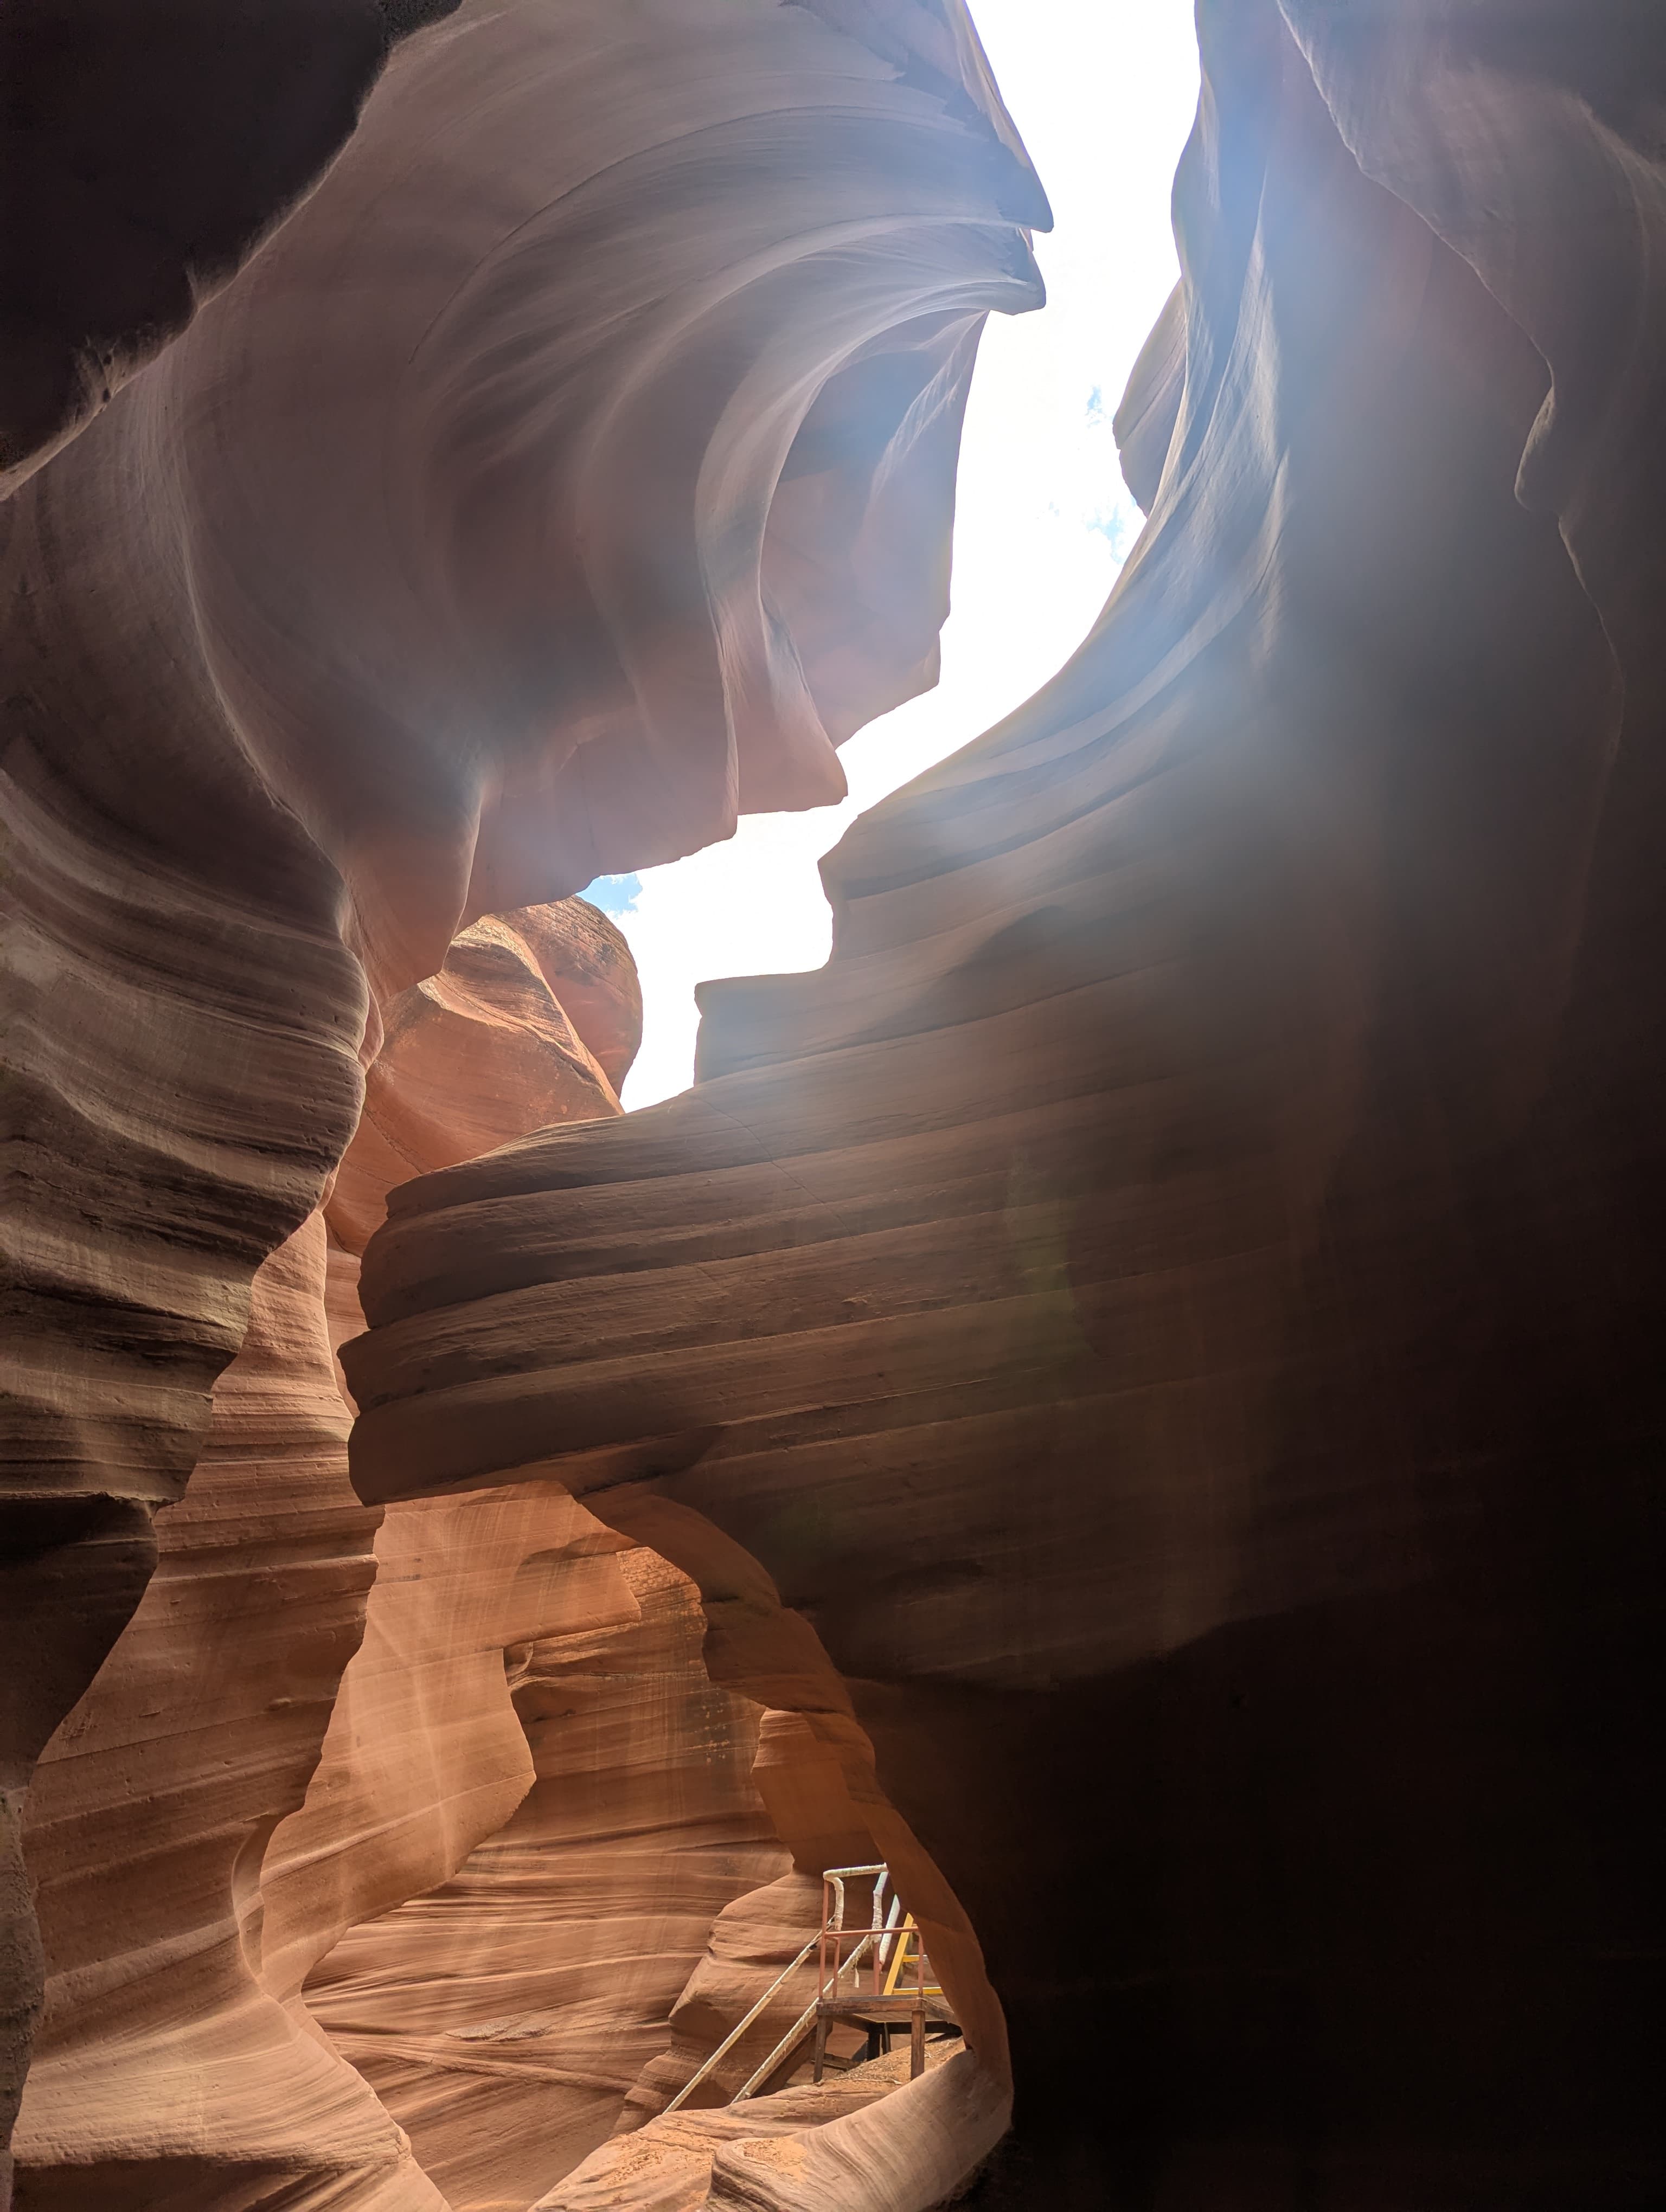
- The canyon openings face directly upward in the chambers where beams form — Upper Antelope's structural orientation aligns with this. Lower Antelope curves and descends, so direct vertical light cannot reach the floor at any time of day. Canyon X is similarly structured to Lower in this respect.
- The beams are visualised by airborne dust and fine sand. Guides traditionally would throw handfuls of sand into the beam to intensify it visually — this practice has been reduced (sand throwing was banned in some periods) but the dust kicked up by foot traffic still does the job. The beams look strongest mid-tour, after groups have passed through several times.
Practical scheduling: book an Upper Antelope tour departing between 10:30 am and 12:00 pm in the April–September window. The 11:30 am slot in late June or July is the optical peak. Outside the window, expect diffused soft light without vertical shafts — beautiful in its own way, but not the iconic shot.
For the broader timing context across the year (weather, crowds, light beam dates by month), see the dedicated best time to visit Antelope Canyon guide. For the section-level decision on whether beams are even the goal of your trip, see Lower vs Upper Antelope Canyon— Lower's sculptural chambers without beams beat Upper's crowded beam window for some visitors.
Best operator for photography in 2026
With dedicated photography tours discontinued, the choice now is which standard operator gives you the best conditions: smallest group, slowest pace, most considered guide behaviour, and the right section. For 2026 the answer is Adventurous Antelope Canyon Tours at Upper.
Why Adventurous over the other two Upper operators (Roger Ekis and Antelope Slot Canyon Tours):
- Group size 8–10 versus 11–13 for Roger Ekis. Fewer people means less waiting for your turn at compositions, less cross-frame traffic, less stress.
- Pace is slower at compositions.The guides explicitly pause at the named photo spots (the “chief” profile, the heart-shaped chamber, etc.) and give 20–30 seconds for each visitor to compose. Roger Ekis groups move slightly faster because the larger group compresses time per person.
- Beam timing alignment is reliable. In peak beam season (June–August), Adventurous schedules tours to align directly with the beam window. They will not promise beams (no one can — weather and dust vary day to day) but their schedule is built around the highest probability slots.
Trade-off: Adventurous is roughly $5 more per adult than Roger Ekis ($95 vs $90 typical 2026 prices). Worth it for the smaller group. For the full operator comparison see the dedicated 6 Navajo operators compared guide.
Why Canyon X is the underrated photo spot
Canyon X with Taadidiin Tours is the section that most photography guides leave out — and it is the strongest pick if your goal is composition work rather than the iconic Upper beam shot. Three reasons:
- You may have stretches of empty canyon. Taadidiin runs fewer tours (smaller permit allocation) and you will routinely have 5–10 minutes inside the canyon with no other groups visible. That is impossible at Upper or Lower in peak season. For long-exposure feel compositions (even handheld at slow shutter), the absence of other visitors in your frame matters.
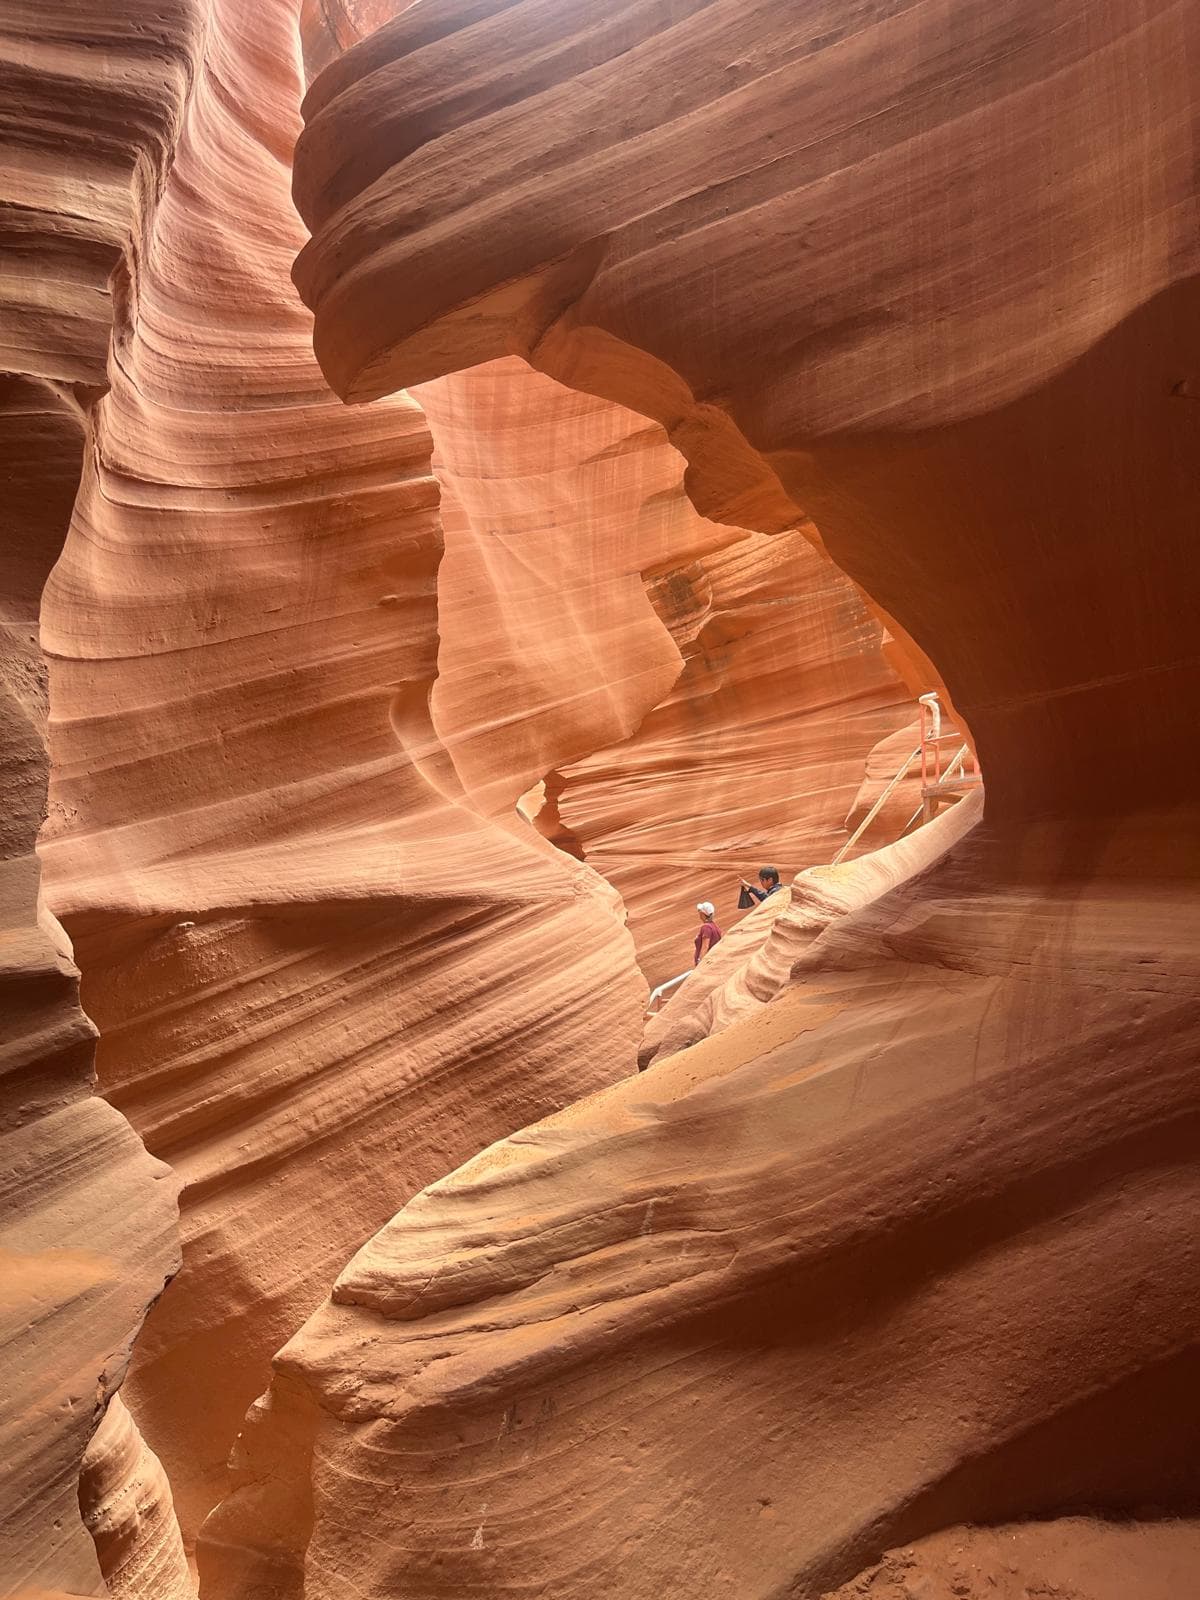
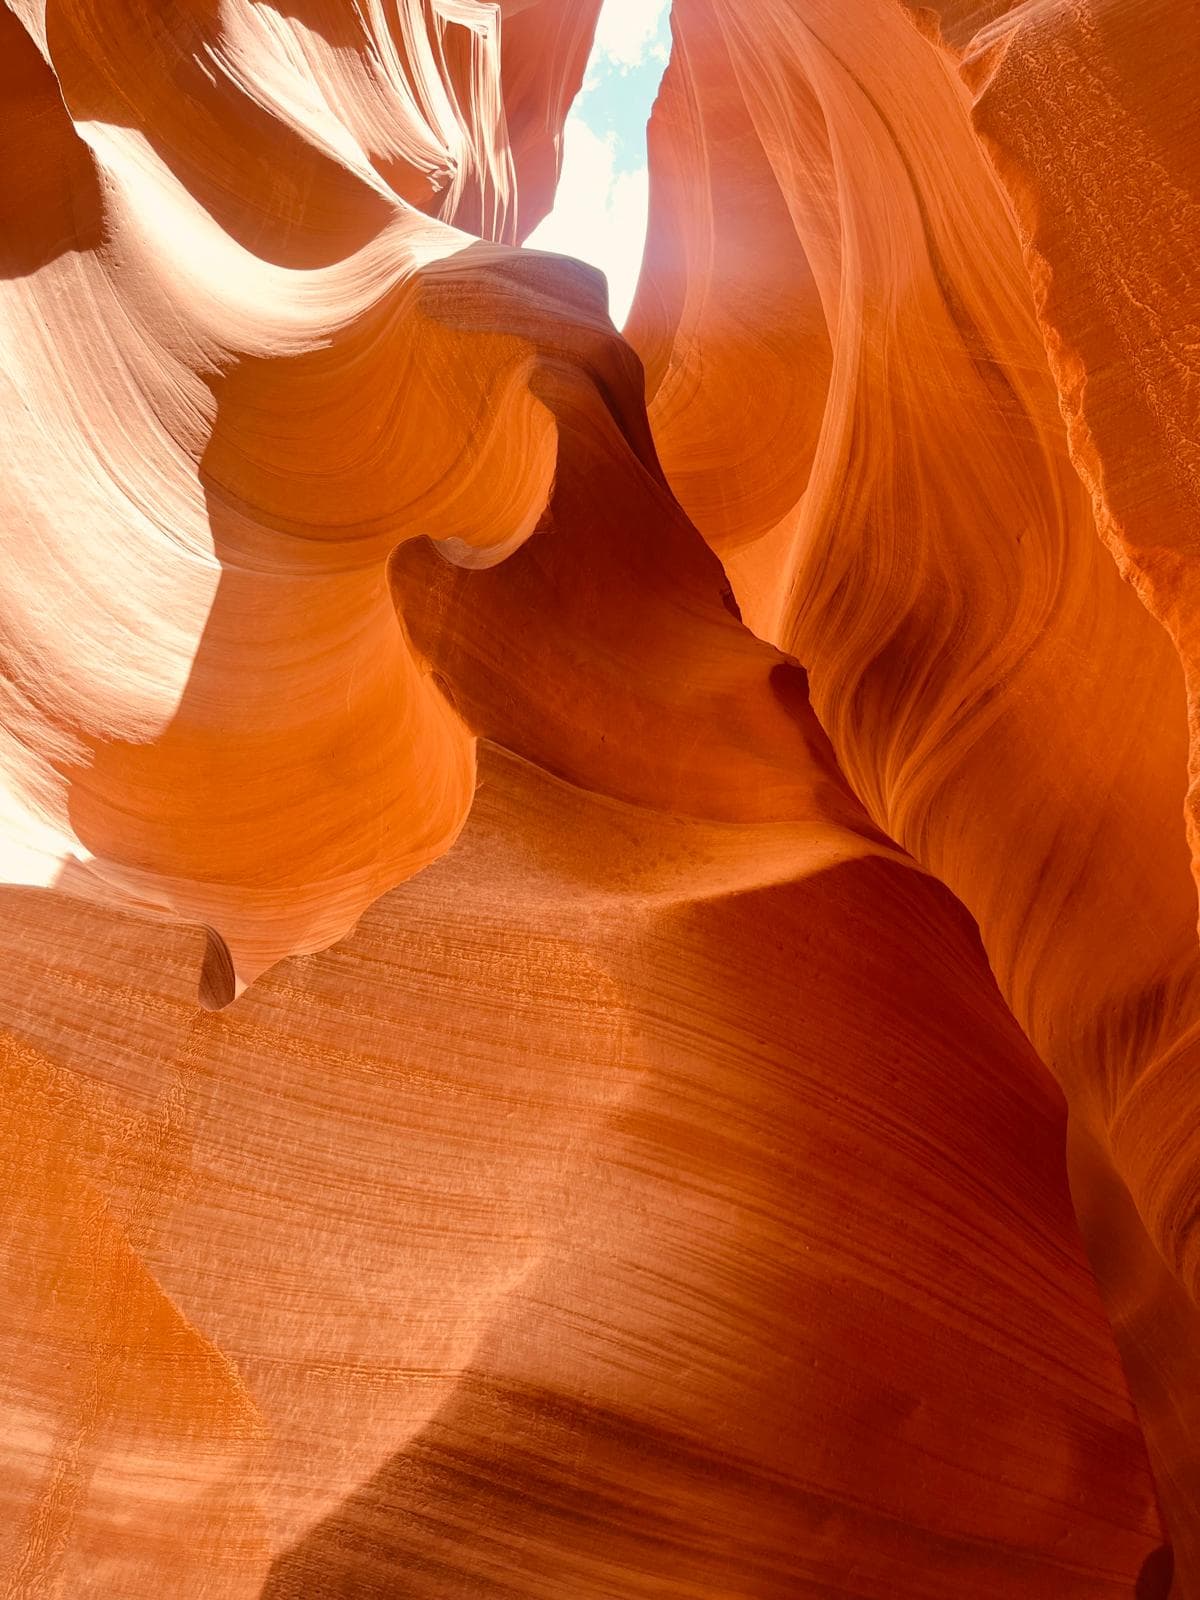
- The chamber compositions are wider and more sculptural. Canyon X has the same sandstone geology as Lower Antelope but with wider chamber walls and more pronounced wave patterns. The “sense of place” type of photo — texture and light describing the rock — works better here than at Upper.
- No vertical light beams means you are not competing for the postcard shot. You can spend your inside-the-canyon time on composition, not on jockeying for position at the famous beam spots.
The trade-off is cost and access. Canyon X is $105–160 per adult (vs $60–85 for Lower or $90–120 for Upper), plus the 15-minute 4×4 shuttle to the staging area. If you have time for one section and you want the iconic beam shot, do Upper with Adventurous. If you have time for two sections and you care about composition over the postcard, add Canyon X. For the detail on what makes Canyon X structurally different see Canyon X explained.
Sand, drones and other restrictions
Beyond the tripod ban, several other rules apply across all three sections. All are enforced by Navajo-authorised guides and Park Service rangers; the consequences for breaches range from immediate tour ejection to confiscation of equipment to fines.
| Equipment / behaviour | Status | Notes |
|---|---|---|
| Tripod / monopod / selfie stick | BANNED | Site-wide since 2019. Left at staging area. |
| Drone / UAV | BANNED | FAA airspace + Navajo Nation prohibition. Confiscation possible. |
| Flash | STRONGLY DISCOURAGED | Not technically banned but kills the orange tone. No reason to use it. |
| Lens swap inside canyon | DISCOURAGED | Sand ruins sensors. Bring one lens, mount it before entering. |
| Backpack / large bag | RESTRICTED | Single small bag only. Large bags slow group progression. |
| Commercial use of images | PERMIT REQUIRED | Sale, stock licensing or advertising requires written Navajo Nation permit. |
| AI training dataset use | GREY AREA | Not addressed in most operator terms (2026); commercial permit doctrine likely applies. Confirm with operator before submission. |
Sand protection workflow: use a UV filter or clear filter on your lens (sacrificial layer, easier to clean than the actual front element), have the camera in a small dust-proof bag when not actively shooting, and after the tour blow the camera body and bag with compressed air outside the canyon before reopening at your accommodation.
Post-processing — honest workflow
The raw files coming out of Antelope Canyon need editing — there is no avoiding it. The dynamic range is too wide for either film-like JPEG settings or untouched raws to do justice. The honest workflow:
- Lift shadows +30 to +50. The canyon floor will be underexposed in any handheld shot. Recover it without going so far that noise becomes obvious (the threshold for full-frame is around +60; for APS-C around +40).
- Drop highlights -20 to -30. The canyon openings above will be clipped or near-clipped. Pulling them back recovers the sky-side warmth without obvious HDR halos.
- Warm white balance to 5800–6200K. If you ignored the manual-WB advice above and shot auto (it dropped to 4500–5000K, greying out the sandstone), bring it back. The natural canyon colour is warm orange-red, not grey. This step should be unnecessary if you locked WB in-camera.
- Pull HSL Saturation Orange back -10 to -20. Counter-intuitively: if you boost overall saturation, the orange sandstone goes neon. Reducing orange saturation while increasing red and yellow gives you a richer, more believable look.
- Light noise reduction. At ISO 3200+ noise is visible in shadow areas. Modern Lightroom AI denoise (NR slider 30–50, AI mode if available) cleans it without softening detail.
- Avoid HDR merge for handheld shots. You did not bracket (no time, no tripod). Trying to merge handheld frames produces ghosting and alignment problems. The single-frame RAW with raised shadows is the correct workflow.
What NOT to do:the “Antelope Canyon look” preset (sold by some photographers on social media) typically over-saturates orange, raises shadows to look painterly, and clips highlights. The result looks like a video game render, not like the canyon. Stay honest to what you actually saw — the canyon is striking enough without filter manipulation.
Frequently asked questions
Are tripods allowed in Antelope Canyon?
No. Tripods, monopods, selfie sticks and any camera support equipment have been banned across all three Antelope Canyon sections (Upper, Lower, Canyon X) since 2019. The ban is enforced by Navajo-authorised tour guides at the start of every tour — equipment is left in the shuttle or at the staging area. The only photography allowed is handheld (phone or camera). This rule is non-negotiable and applies year-round.
What is the best phone setting for Antelope Canyon?
Turn HDR on (essential — the dynamic range inside the canyon is extreme), use the ultrawide 0.5× lens for full chamber compositions, and on iPhone 12+ or Pixel 6+ shoot in ProRAW / RAW for editing flexibility. Night mode actually works well inside the canyon despite being daytime, because the interior is dim — modern phones interpret the scene correctly and the 1–3 second computational exposure compensates for handheld movement. Avoid using flash; it kills the warm sandstone tones that make the canyon iconic.
Can you photograph the famous light beams from Lower Antelope?
No. The vertical light beams only appear in Upper Antelope Canyon — the canyon orientation and sandstone shape in Upper create the conditions for direct sun shafts during the midday window (roughly 11 am – 1 pm from late March through mid-October). Lower Antelope is structurally different (descending and curving) and does not produce vertical beams. If photographing the iconic beam shot is the goal, you must book an Upper Antelope tour in the right season and time of day.
Are commercial photography tours still available at Antelope Canyon?
Not in the way they used to operate. Before 2019, several operators ran dedicated "photography tours" with extended dwell time, tripod use and smaller groups specifically for serious photographers. These were discontinued site-wide after the 2019 ban. Some operators still advertise "photography tours" but these are now standard sightseeing tours with photography in the name — the rules (handheld only, standard tour pace, mixed-skill group) are the same as any other tour. The closest current equivalent is Adventurous Antelope Canyon Tours at Upper (smaller groups of 8–10) where the slower pace allows more composition time.
Will sand damage my camera inside Antelope Canyon?
Possibly, if you do not protect it. Fine sand falls from the upper canyon walls throughout every tour — guides often tap the walls to demonstrate the cascading sand effect, which is striking visually but lethal for camera sensors. Protect your gear by using a lens hood, never changing lenses inside the canyon (sand enters the sensor chamber instantly), and putting a soft cloth or rain cover over the body when not actively shooting. Phones are less vulnerable but a case prevents minor lens scratches from airborne sand. After the tour, blow out the camera bag with a hand pump or compressed air before reopening at home.
What lens should I bring for Antelope Canyon?
For full-frame: a wide-angle zoom 16–35mm f/2.8 or f/4 is the standard pick — wide enough for chamber compositions, with enough light-gathering for the dim interior. For APS-C: 10–22mm or 11–16mm equivalents. For Micro Four Thirds: 8–16mm. Avoid primes longer than 50mm — the canyon is too narrow to back up and frame anything wider. Bring one lens only (no lens changes inside, as above). For phone shooting, the built-in ultrawide is your wide; the main 1× lens is fine for tighter compositions of specific wall patterns and the telephoto is rarely useful inside the narrow chambers.
About this guide
Written by Diego Fresno, travel writer and independent publisher specialising in the American Southwest. This photography guide is based on Antelope Canyon tours across July 2025 (Roger Ekis at Upper, Ken's at Lower, Taadidiin at Canyon X) plus an earlier 2023 visit covering Adventurous Antelope Canyon Tours and Dixie Ellis' — shooting handheld with both an iPhone 15 Pro in ProRAW and a Sony A7 IV. Operator policies and the 2019 ban context cross-referenced in May 2026 with Navajo Nation Parks and Recreation Department guidance and direct operator websites. Verified quarterly — last review April 2026. About the author →
Related guides
Antelope Canyon X explained
The underrated section for serious composition work. Taadidiin Tours, no light beams but stretches of empty canyon.
Lower vs Upper Antelope Canyon (2026)
Beam-iconic Upper vs sculptural Lower — which to pick depending on what you came to photograph.
Antelope Canyon tours: 6 Navajo operators compared
Group sizes, prices, photography pace by operator. Adventurous (Upper) is the current photographer pick.

Best time to visit Antelope Canyon
Light beam window month-by-month, monsoon risk, weather and the shoulder-season sweet spot.